An old, abandoned truck is left resting at Salvation Mountain, nestled within the vast expanse of the California desert. This weathered vehicle stands as a testament to time, surrounded by vibrant colors and artistic expressions that characterize the area.
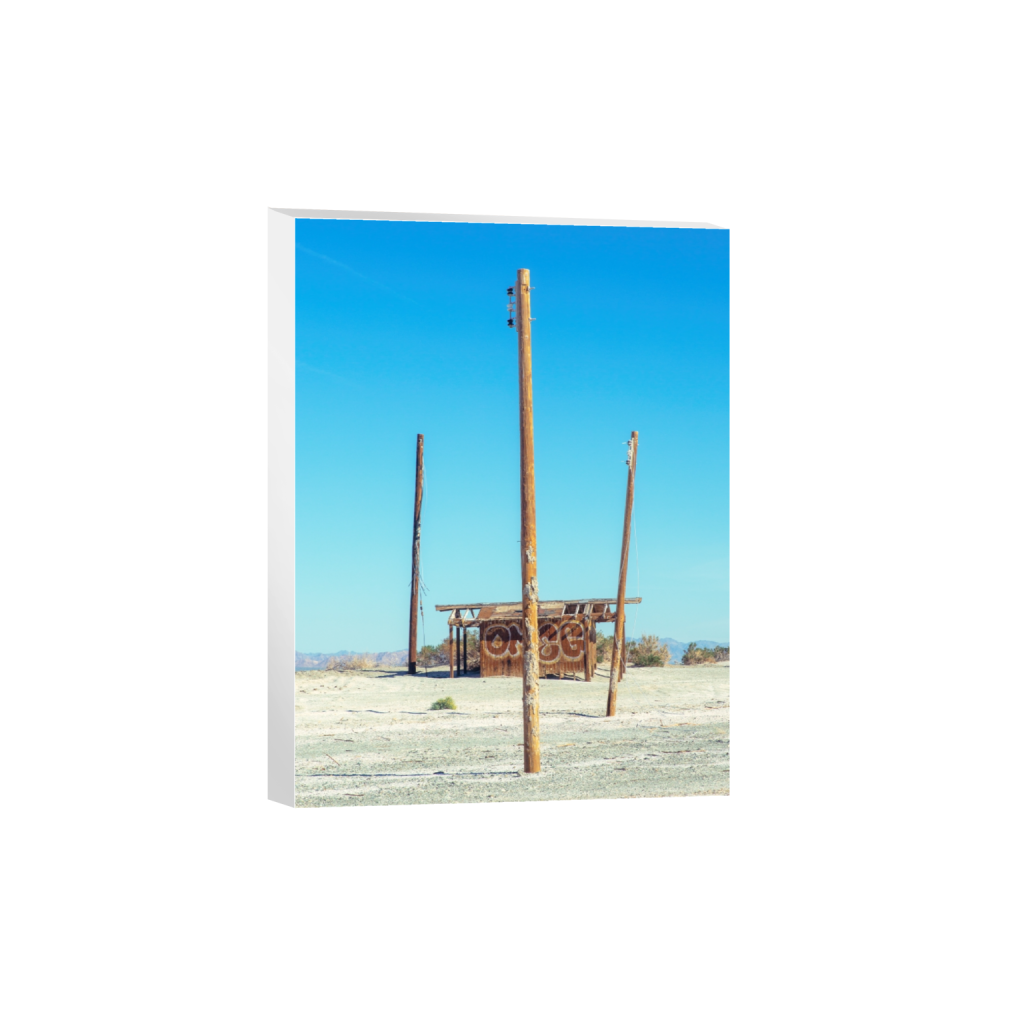
This image is available for the following products: Metal Prints, Canvas Prints, Framed Prints, Acrylic Wall Prints, Giclee Fine Art Prints, Prints & Posters
An old, abandoned truck is left resting at Salvation Mountain, nestled within the vast expanse of the California desert. This weathered vehicle stands as a testament to time, surrounded by vibrant colors and artistic expressions that characterize the area.
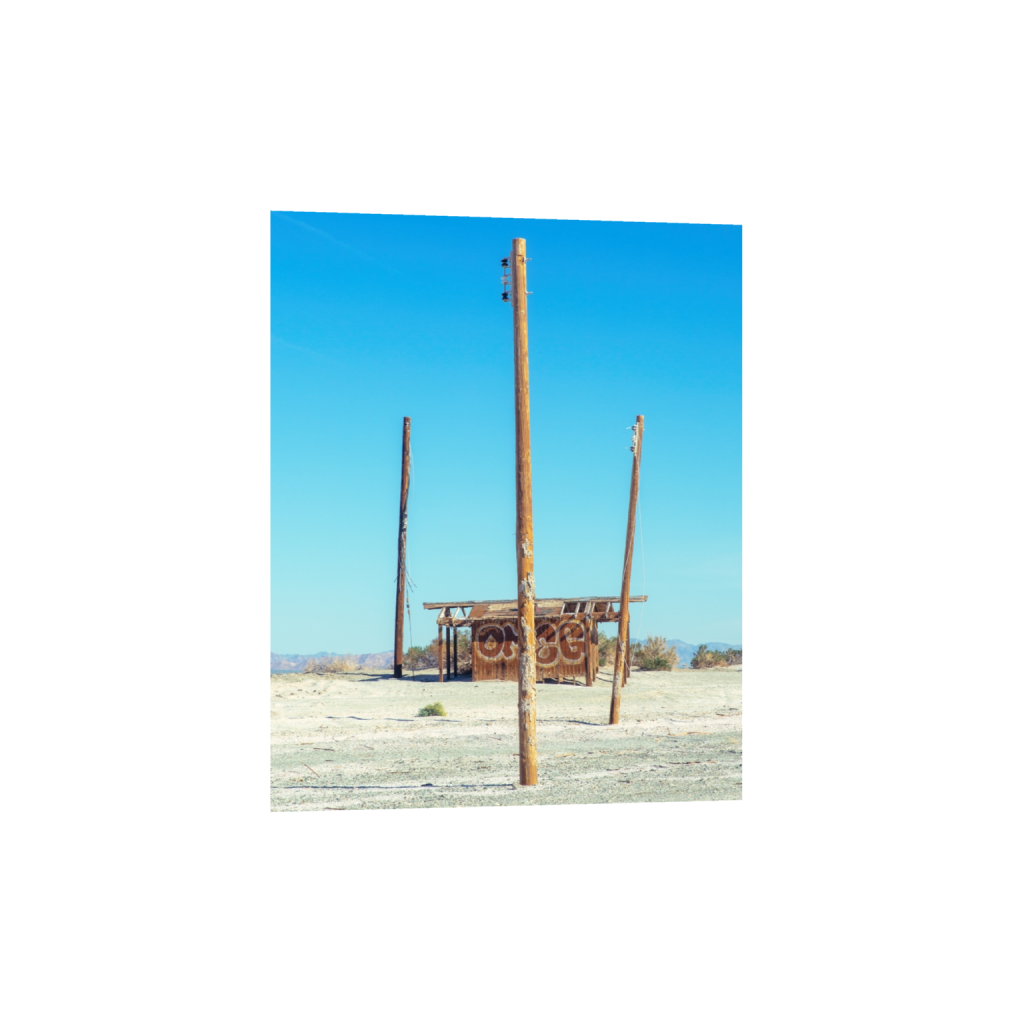
This image is available for the following products: Metal Prints, Canvas Prints, Framed Prints, Acrylic Wall Prints, Giclee Fine Art Prints, Prints & Posters

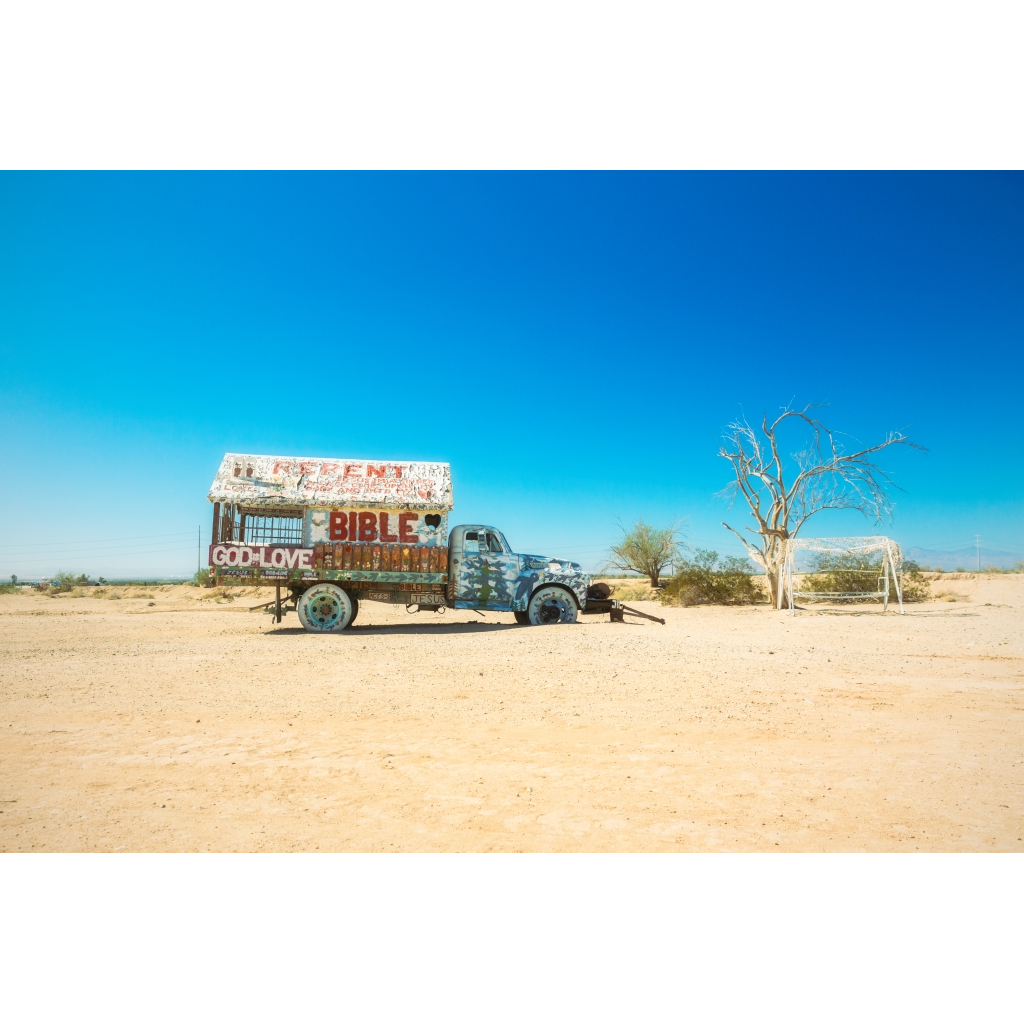 Image 1 of 28
 Image 2 of 28
 Image 3 of 28
 Image 4 of 28
 Image 5 of 28
 Image 6 of 28
 Image 7 of 28
 Image 8 of 28
 Image 9 of 28
 Image 10 of 28
 Image 11 of 28
 Image 12 of 28
 Image 13 of 28
 Image 14 of 28
 Image 15 of 28
 Image 16 of 28
 Image 17 of 28
 Image 18 of 28
 Image 19 of 28
 Image 20 of 28
 Image 21 of 28
 Image 22 of 28
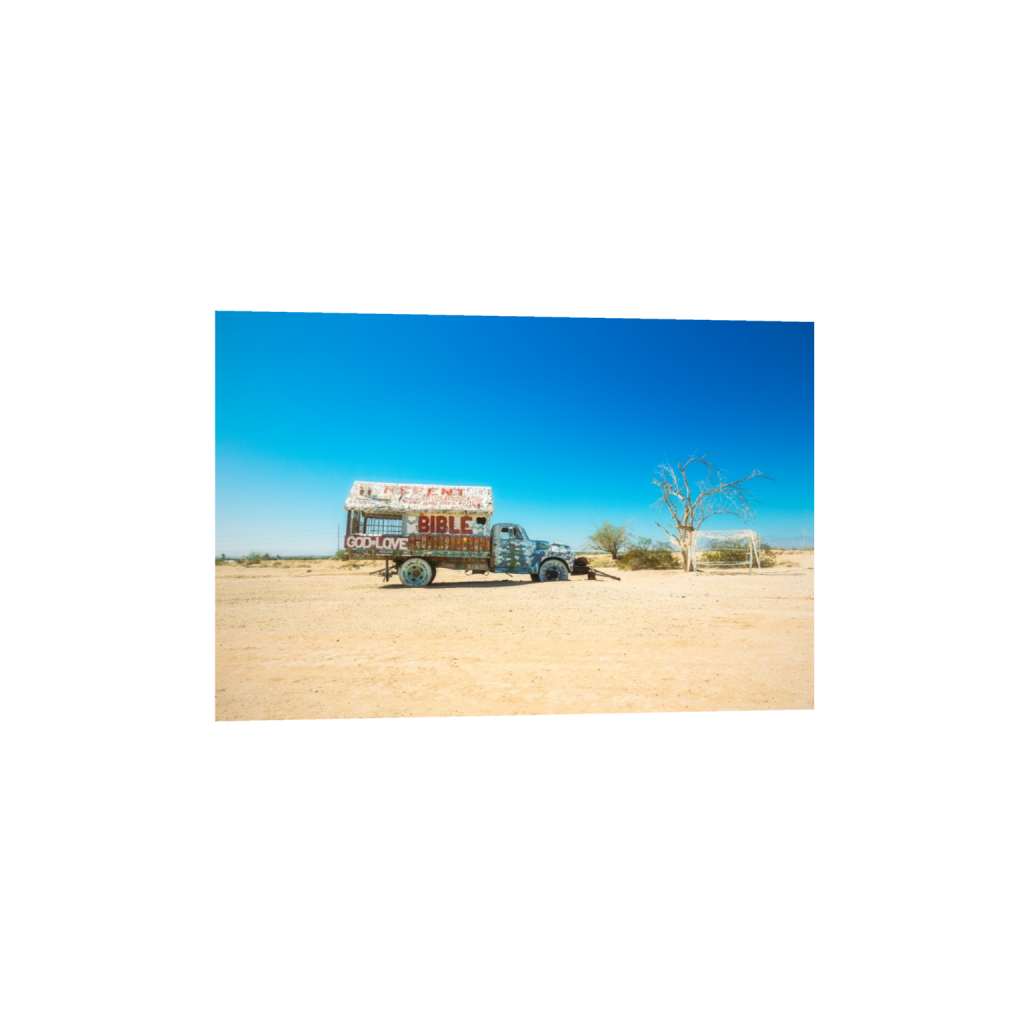 Image 23 of 28
 Image 24 of 28
 Image 25 of 28
 Image 26 of 28
 Image 27 of 28
 Image 28 of 28